
You're viewing Apigee Edge documentation.
Go to the
Apigee X documentation. info
This section explains how to create a simple API proxy.
Edge
To create an API proxy using the Edge UI:
- Sign in to apigee.com/edge.
- Click API Proxies in the main window:

- Click +Proxy.

Apigee walks you through the process of creating a new proxy. First, select the type of proxy:
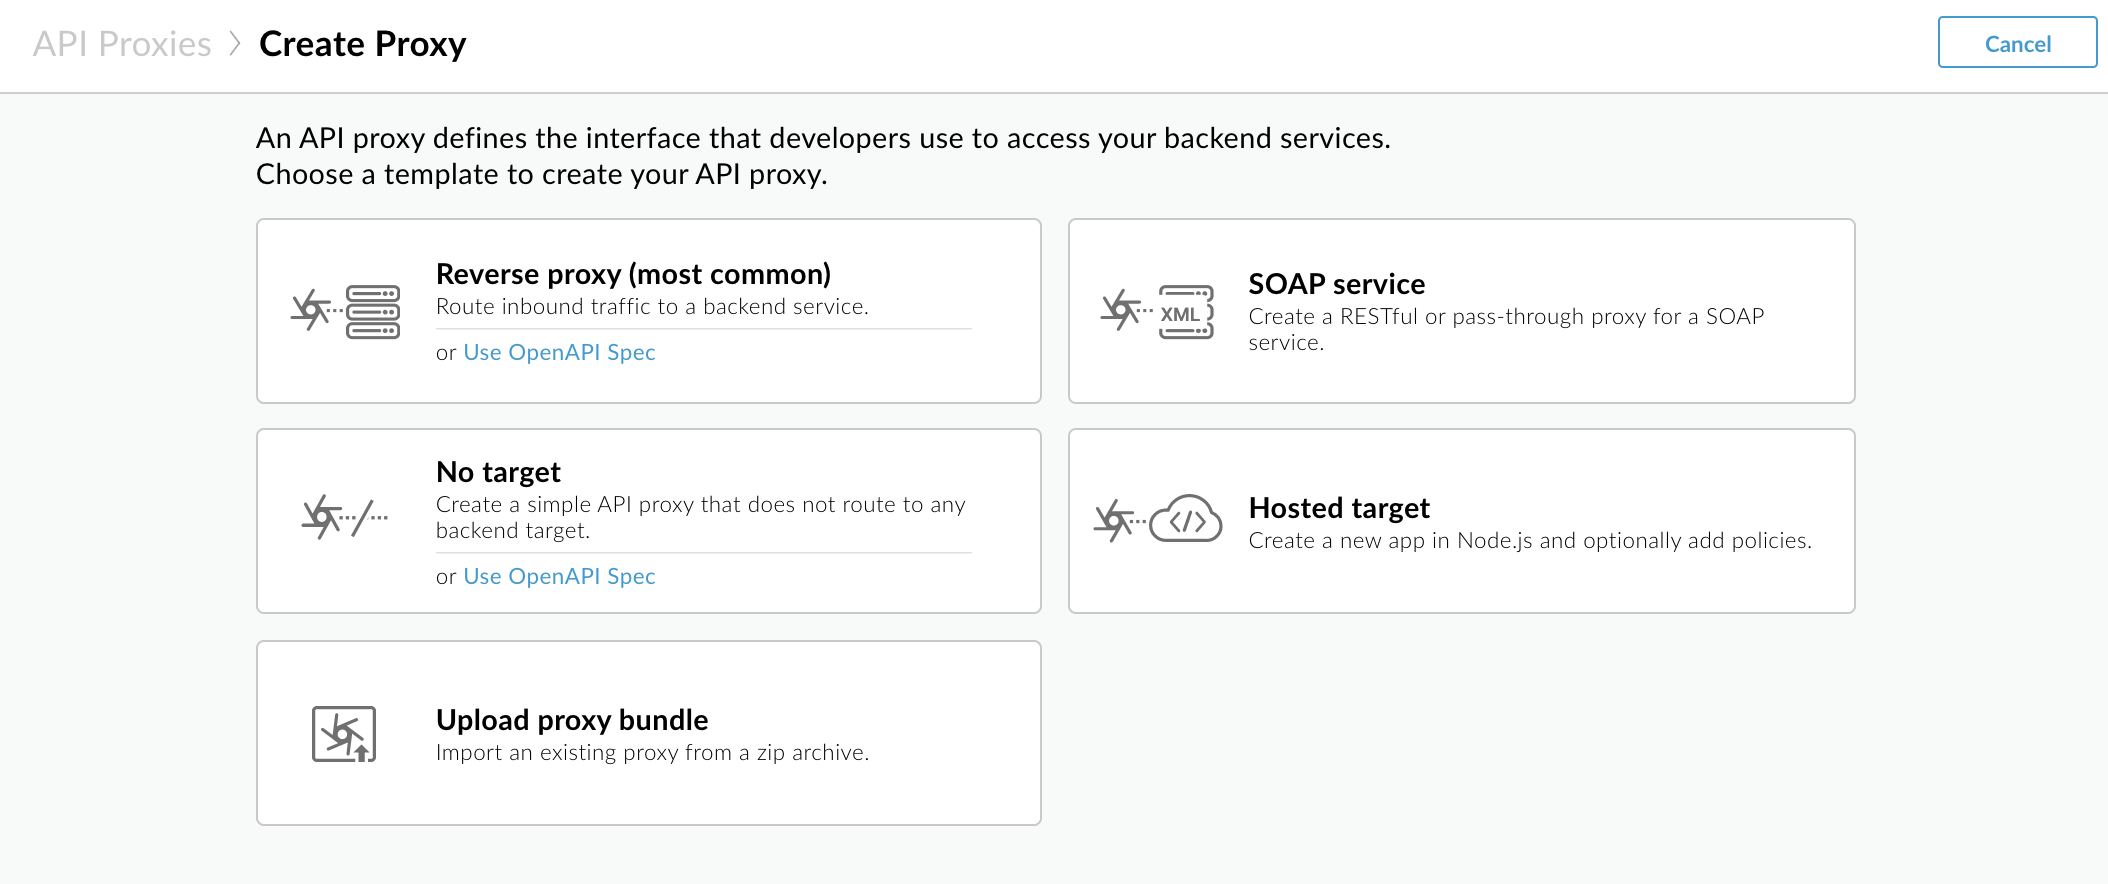
Click Reverse proxy (most common).
Apigee displays the Proxy details page.
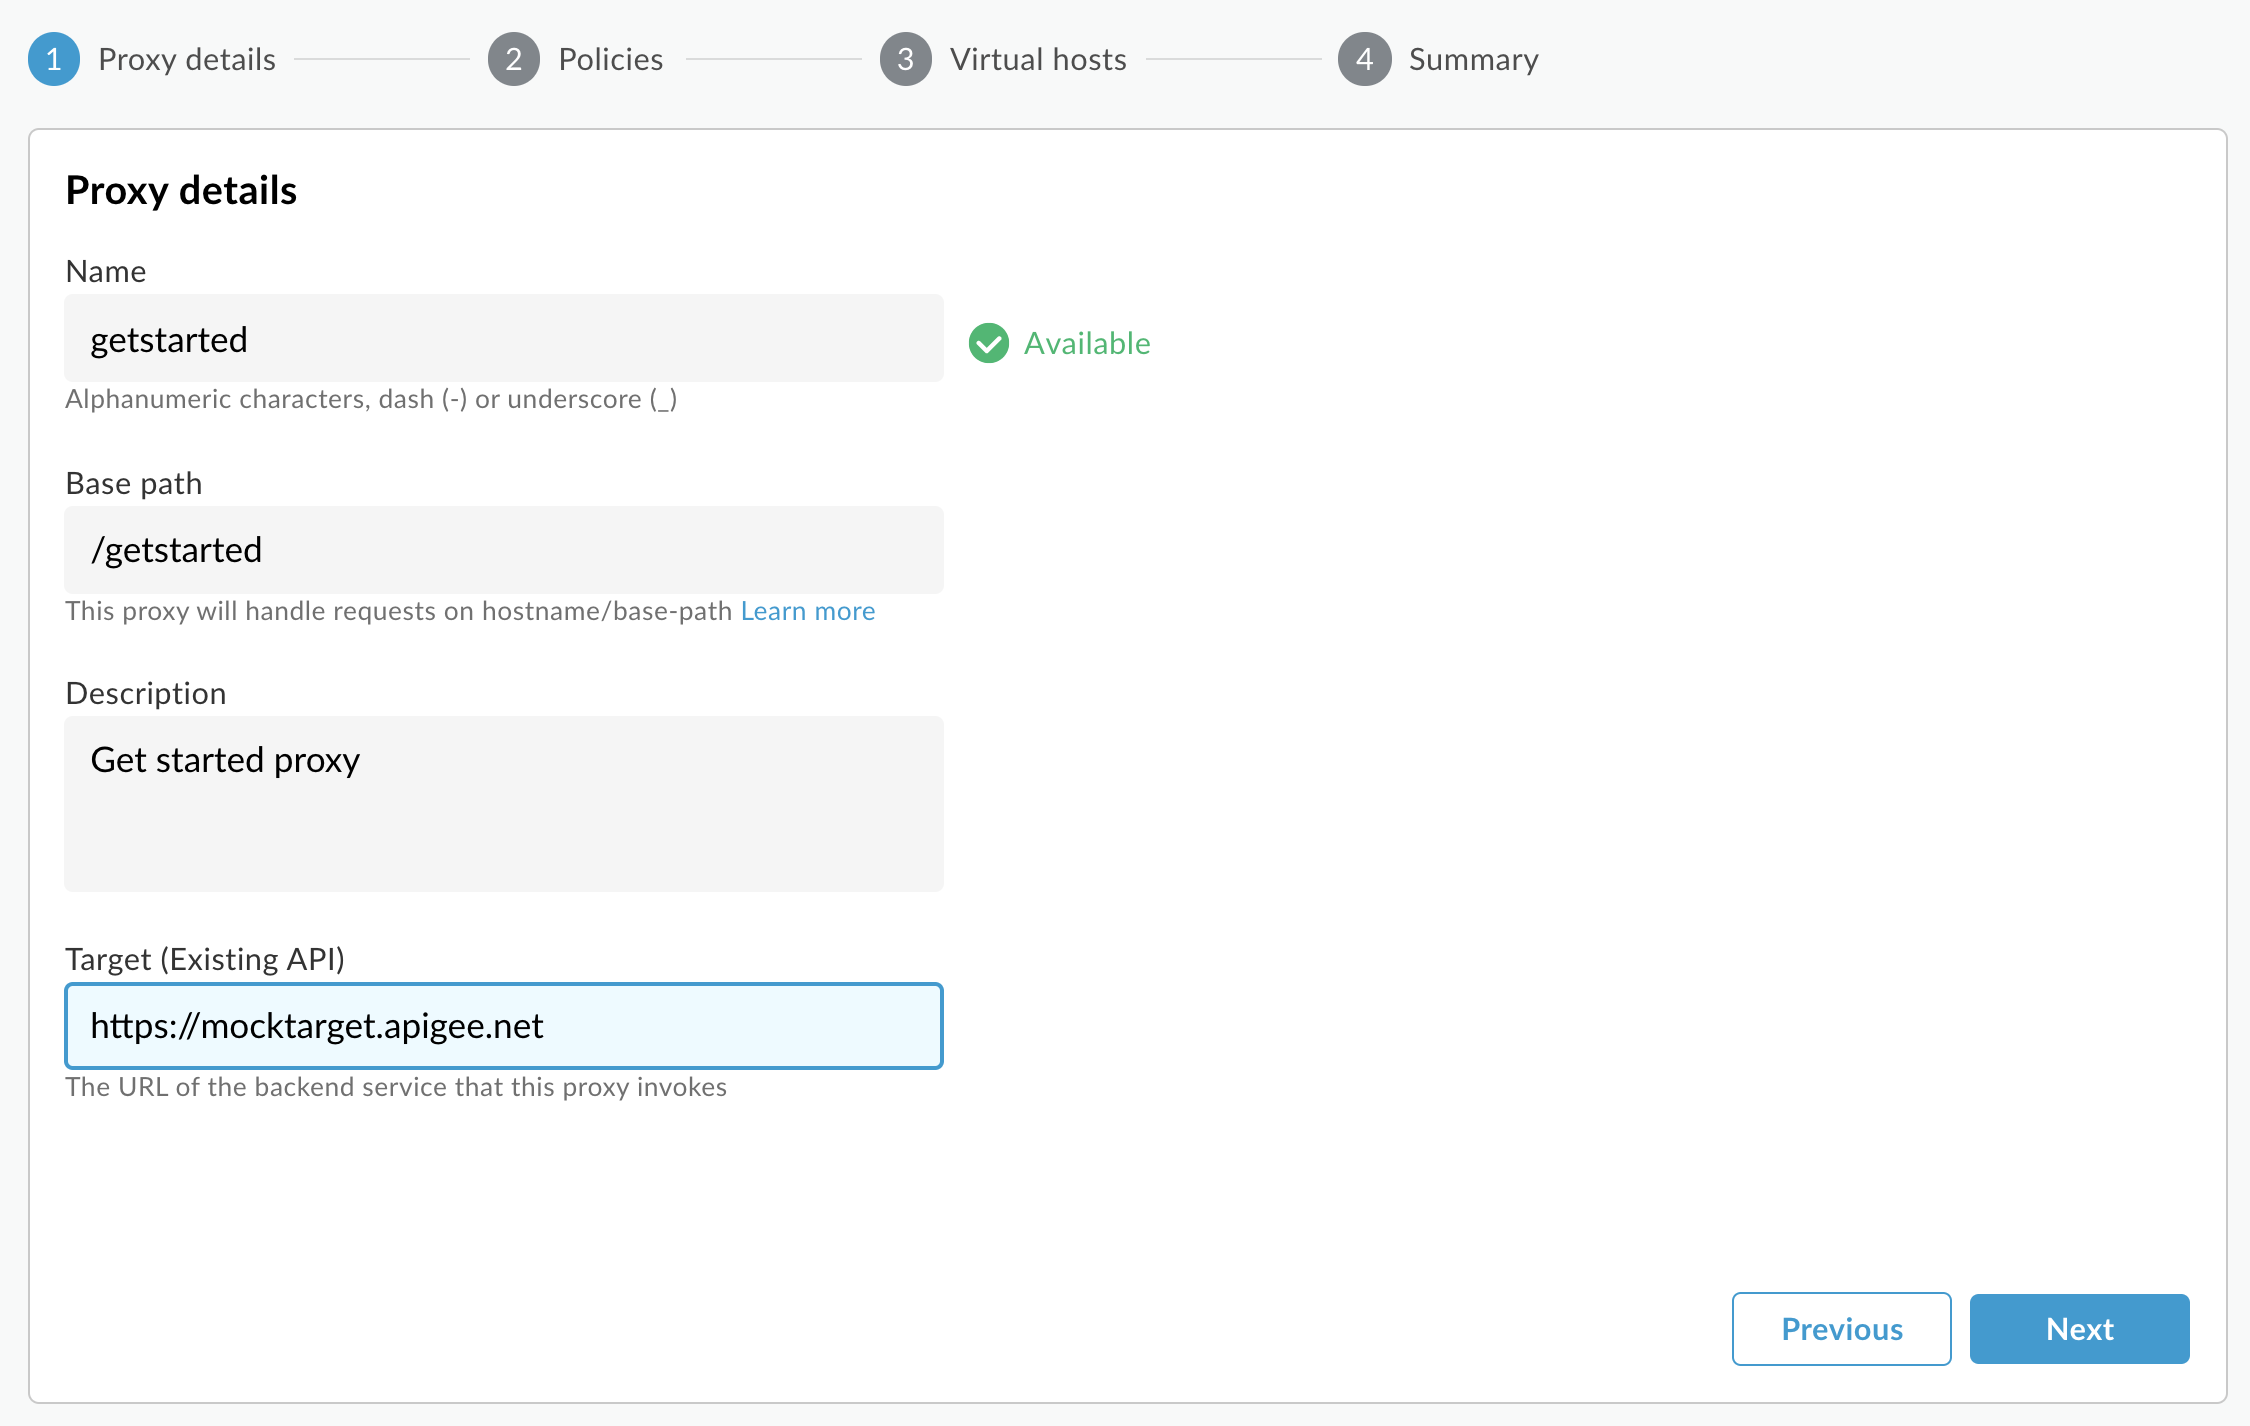
- Configure your proxy details, as follows:
- Name: Enter getstarted. If a proxy already exists with this name, then use a different name.
Base path: Ensure this is set to /getstarted.
The base path is part of the URL used to make requests to your API. Edge uses the URL to match and route incoming requests to the proper API proxy.
- Description (Optional): Enter a description for your new API proxy, such as Get started proxy.
Target (Existing API): Enter https://mocktarget.apigee.net. This defines the target URL that Apigee Edge invokes on a request to the API proxy.
The mocktarget service is hosted at Apigee and returns simple data. It requires no API key or access token.
Your proxy's details should look like the following:
- Click Next.
- On the Common policies page, under Security: Authorization ensure that Pass through (no authorization) is selected, and click Next.

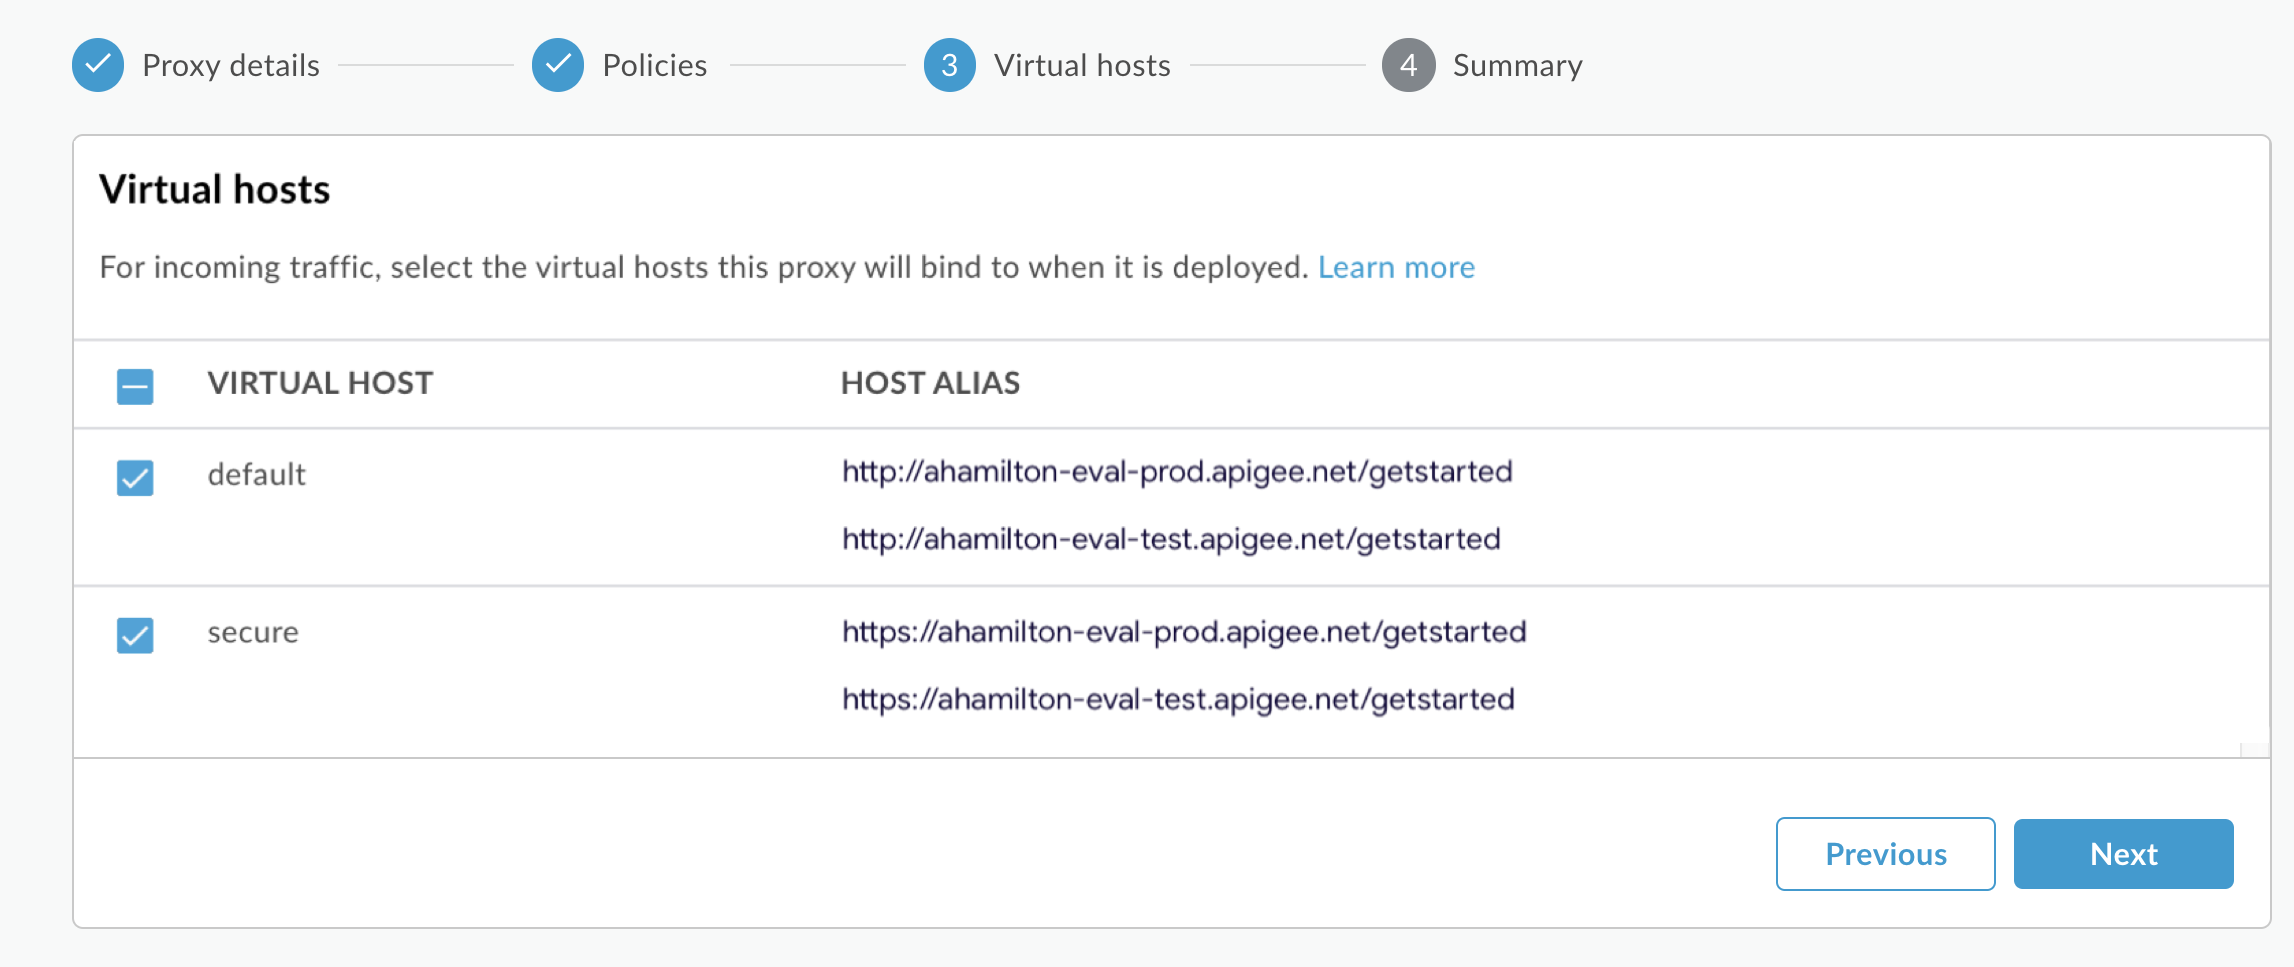
- On the Virtual hosts page, select default and secure, and click
Next.
- On the Summary page, make sure the Test environment is
selected under Optional Deployment and click Create and
deploy:
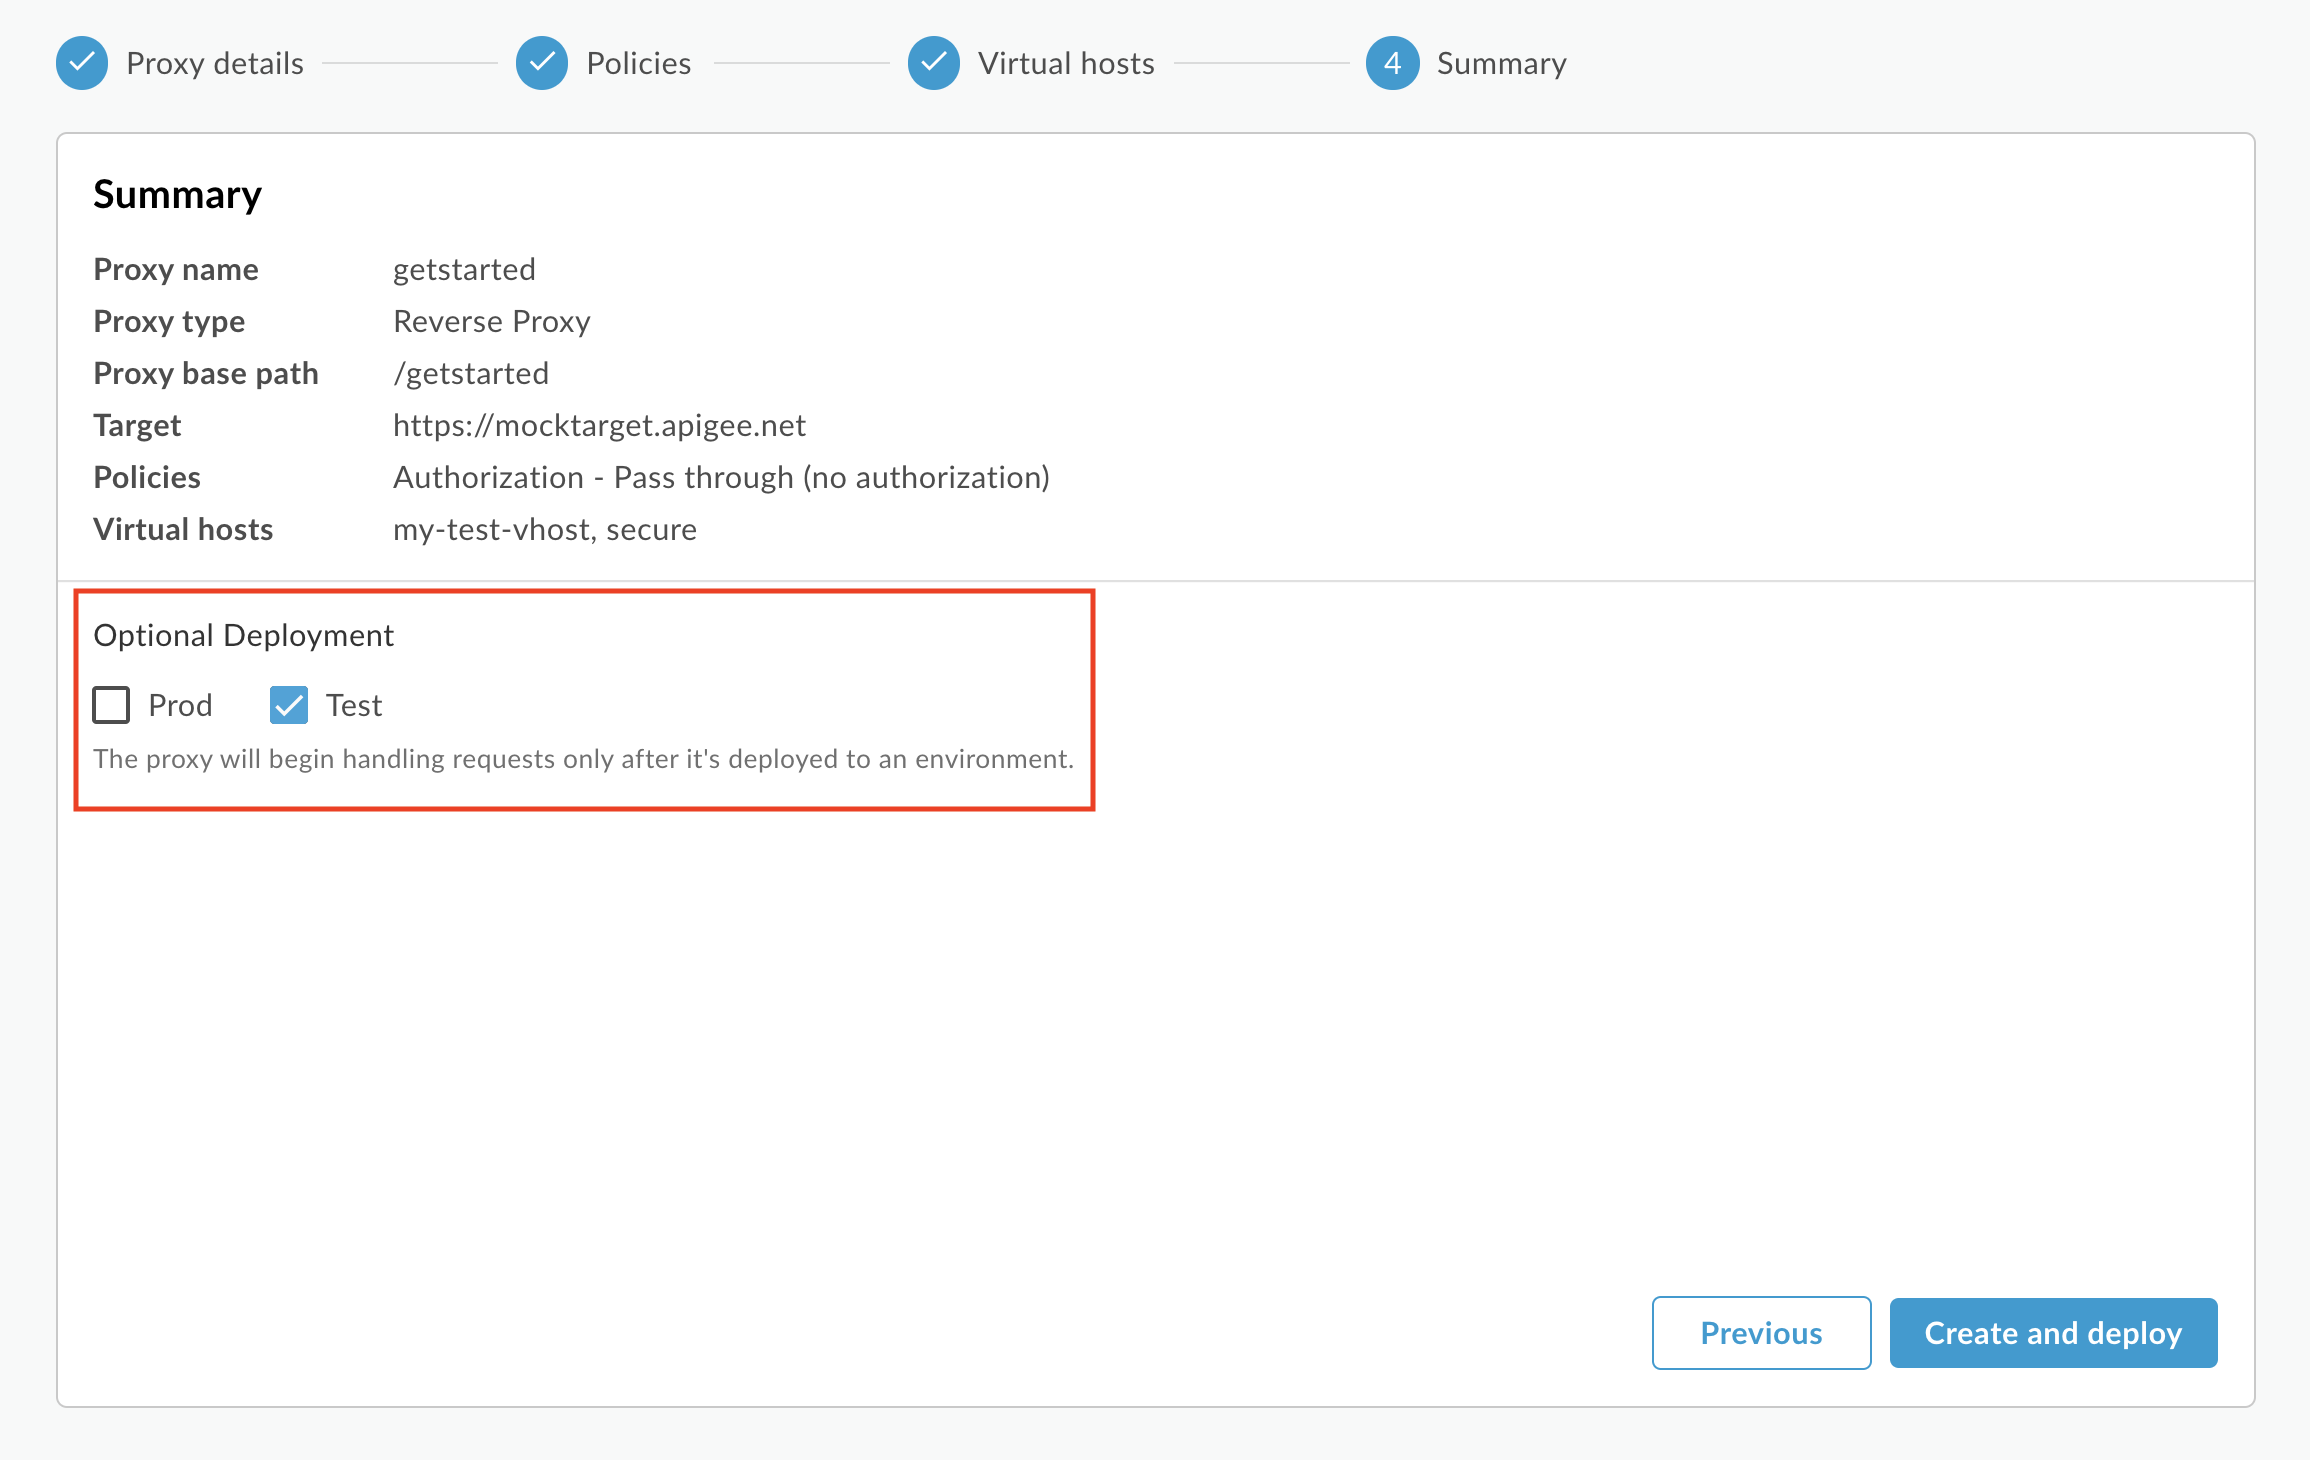
Apigee creates your new API proxy and deploys it to your test environment:
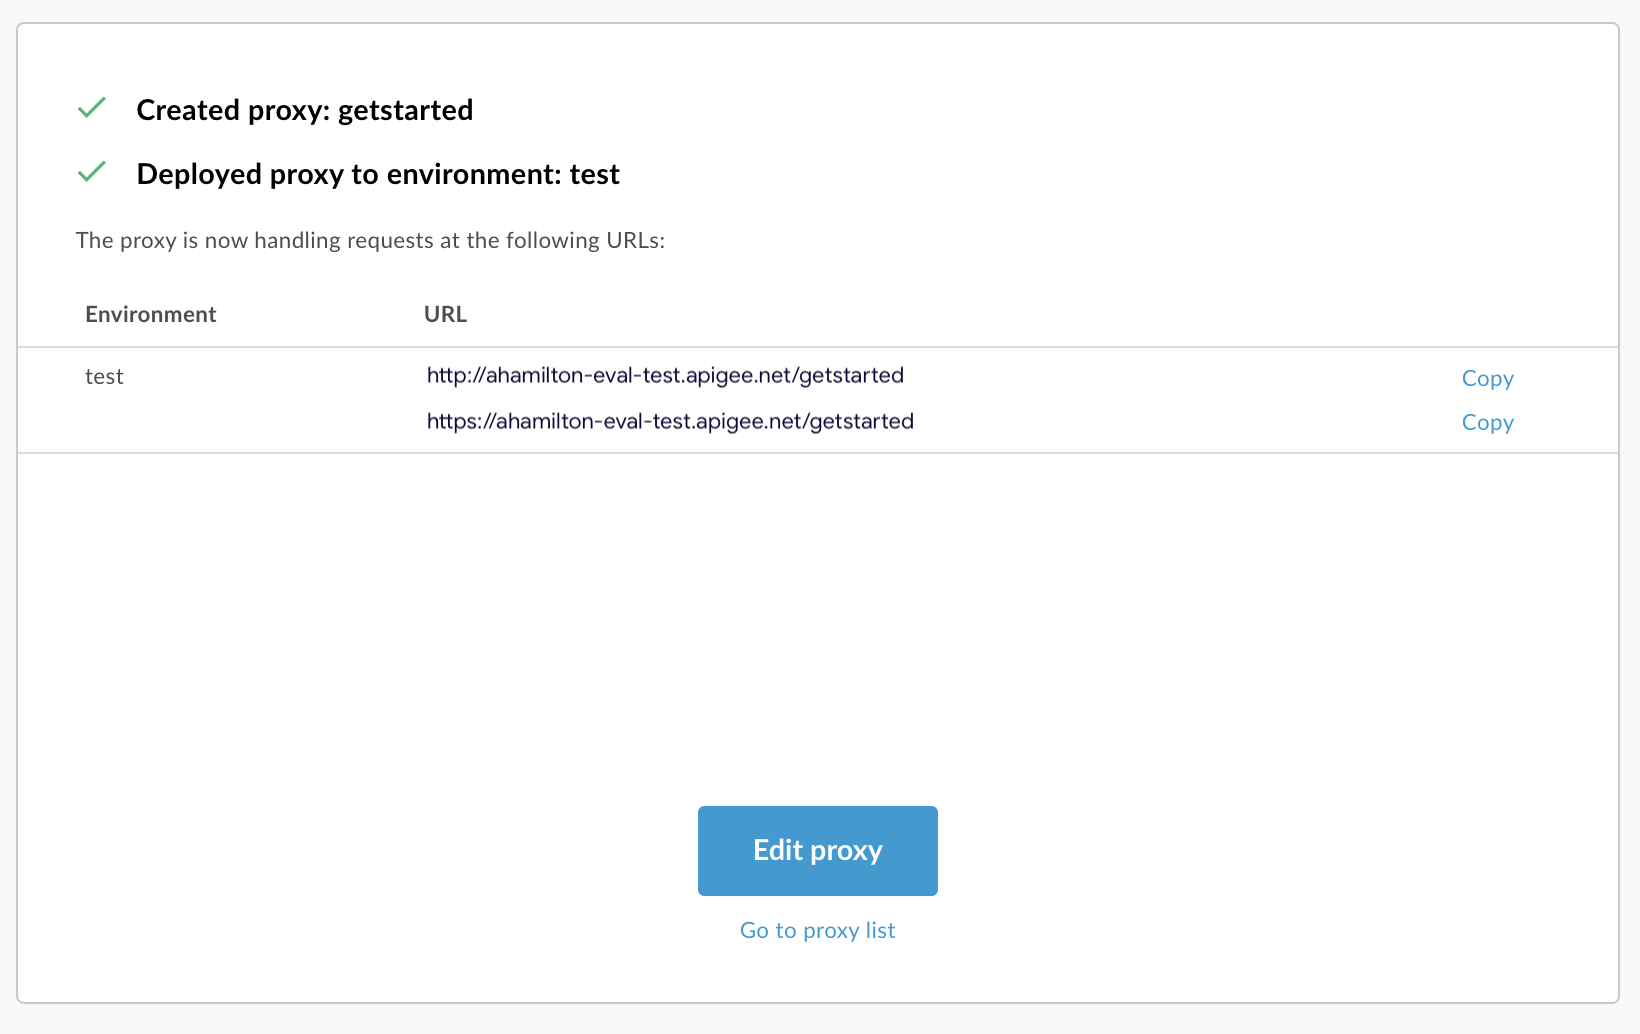
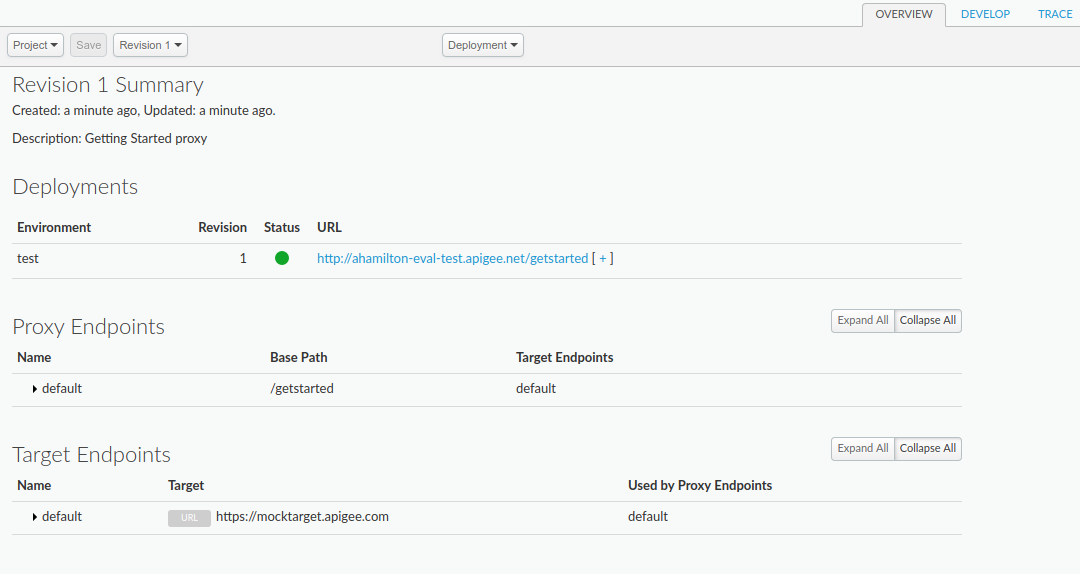
- Click Edit proxy to display the Overview page
for the API proxy:
Note that if you expand the [ + ], the UI lists both HTTP and HTTPS URLs for the test environment:
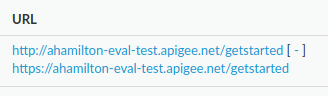
As a result, you can send requests to either, but this tutorial uses HTTPS.
Classic Edge (Private Cloud)
To create an API proxy using the Classic Edge UI:
- Sign in to
http://ms-ip:9000, where ms-ip is the IP address or DNS name of the Management Server node. - Click API Proxies in the main window:
- Click + API Proxy in the upper right:
Apigee walks you through the process of creating a new proxy. The first decision is the type of proxy:
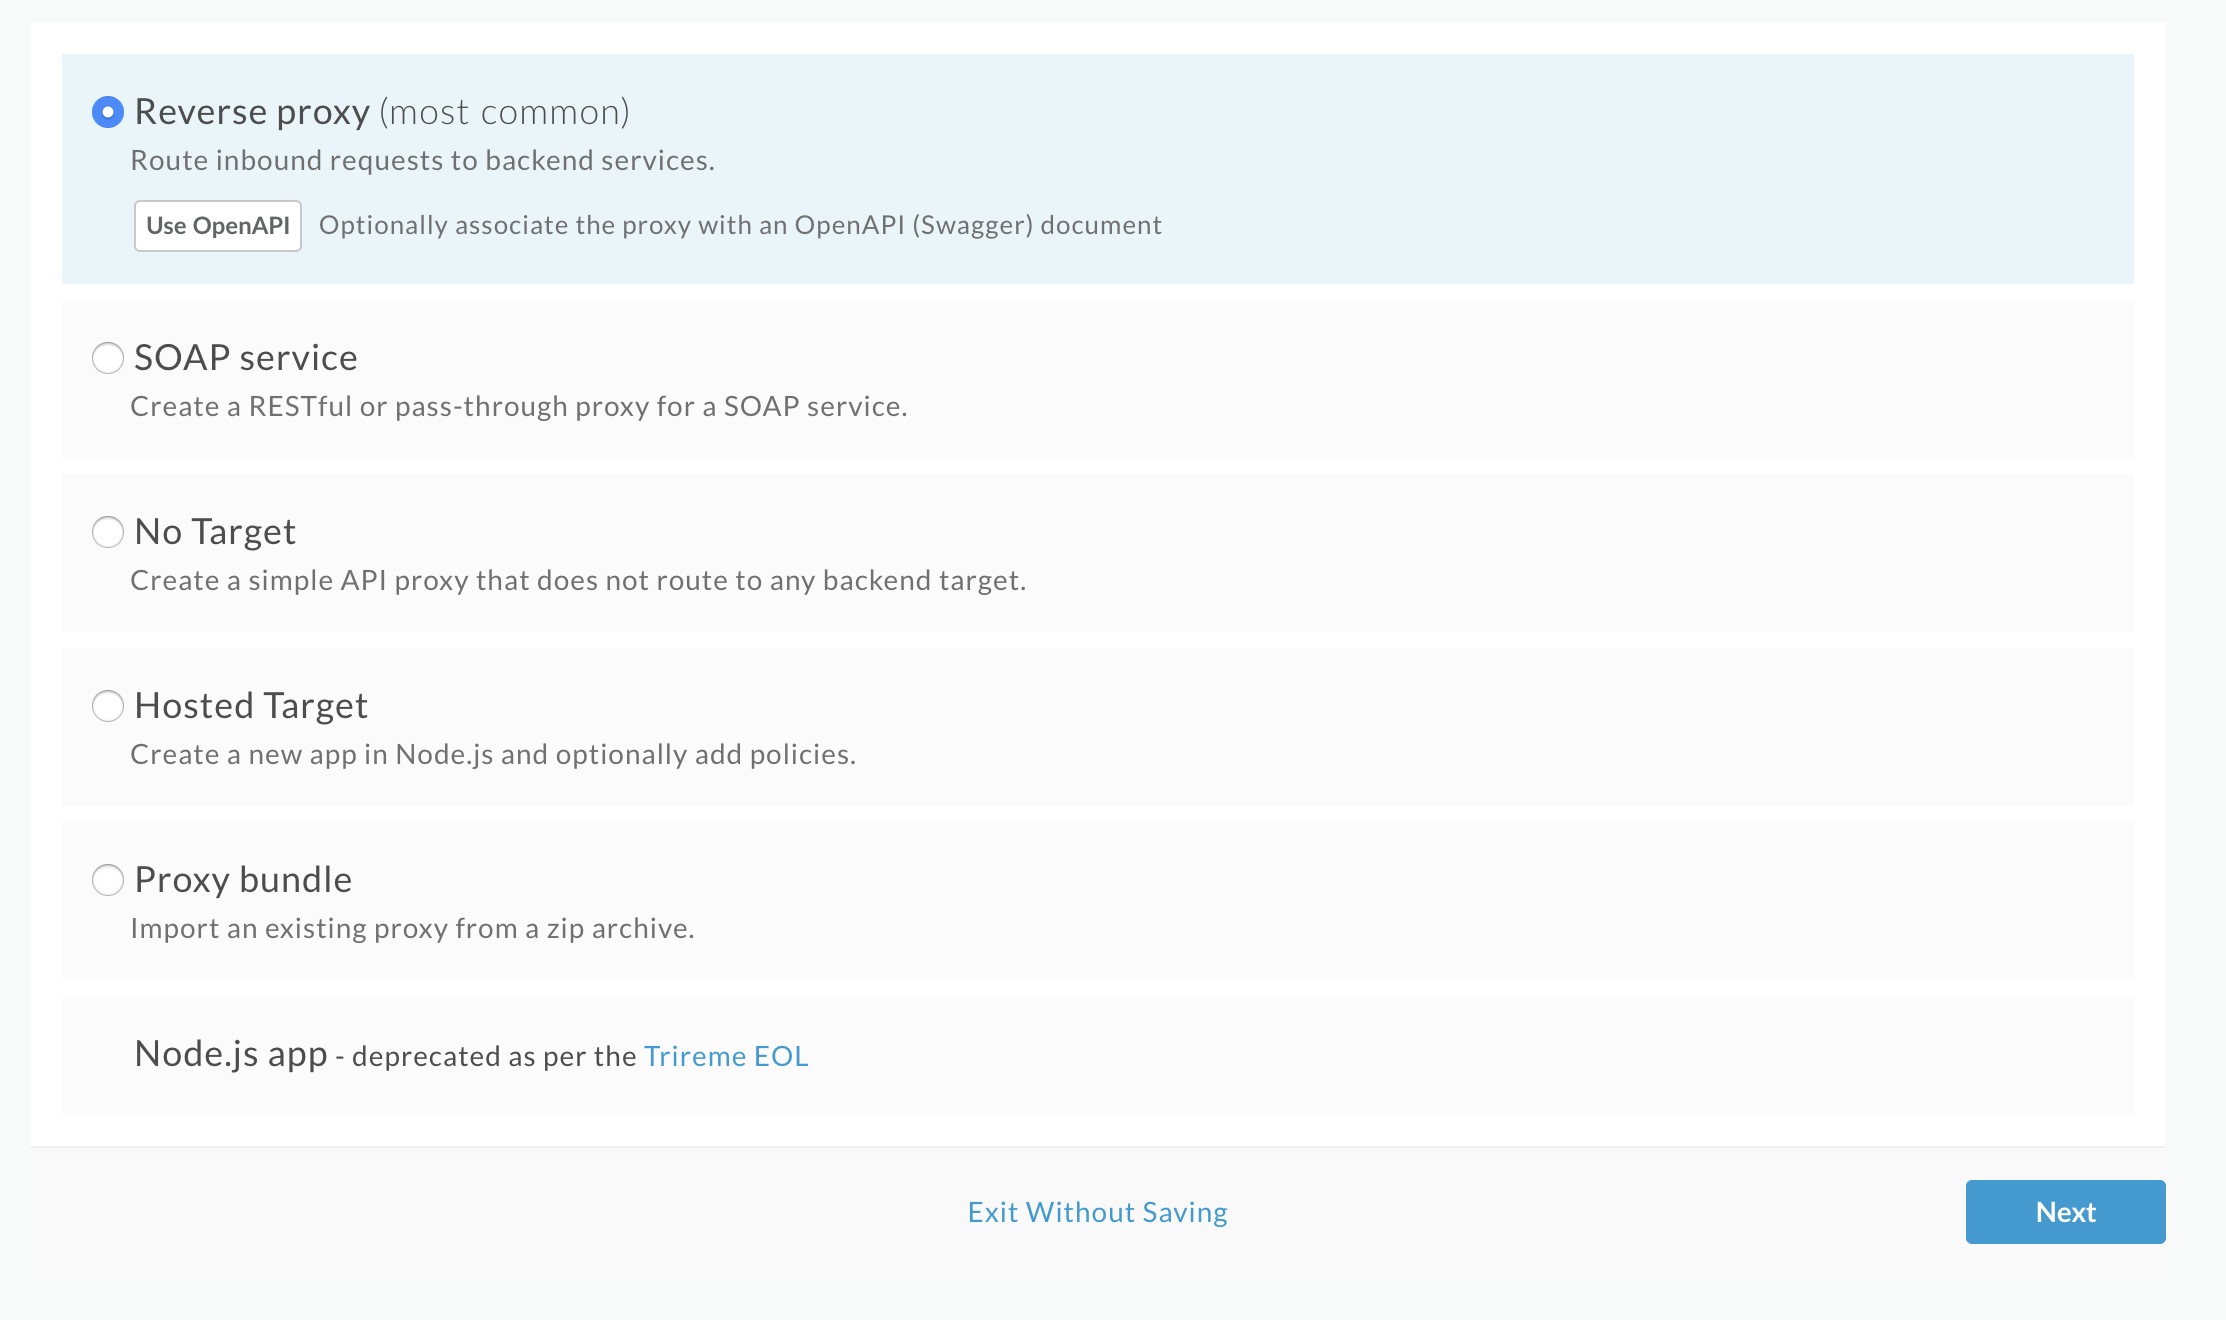
Select Reverse proxy (most common), and click Next.
Apigee then displays the Details screen.
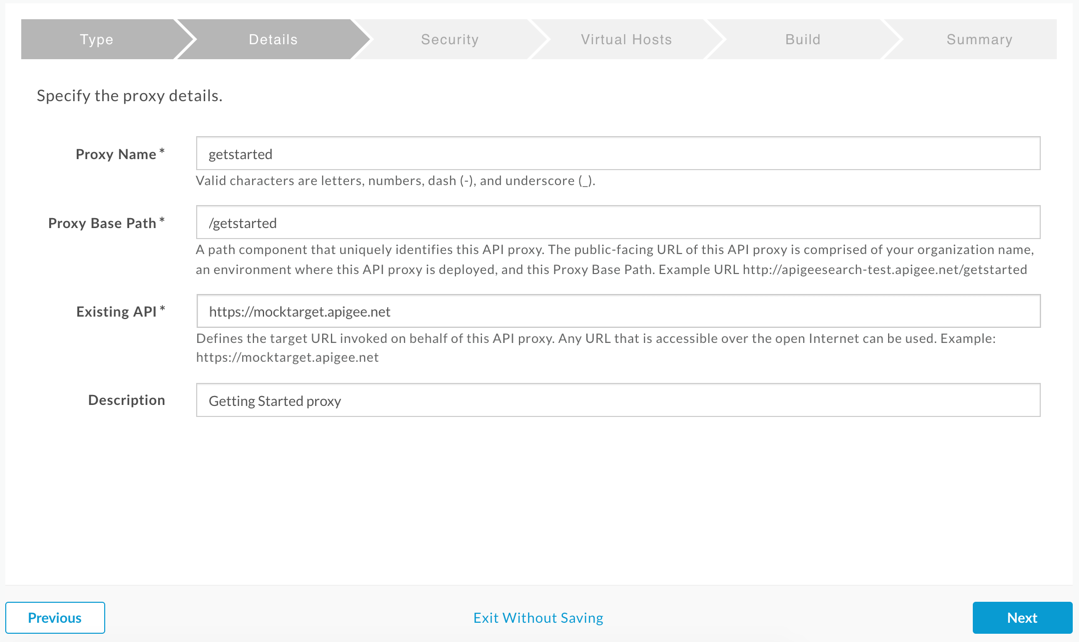
- Configure your proxy with the following settings:
- Proxy Name: Enter "getstarted". If a proxy already exists with this name, choose a different name.
Proxy Base Path: Ensure this is set to "/getstarted".
The Proxy Base Path is part of the URL used to make requests to your API. Edge uses the URL to match and route incoming requests to the proper API proxy.
Existing API: Enter "https://mocktarget.apigee.net". This defines the target URL that Apigee Edge invokes on a request to the API proxy.
The mocktarget service is hosted at Apigee and returns simple data. It requires no API key or access token.
- (Optional) Description: Enter a description for your new API proxy, such as "Getting Started proxy".
Your proxy's details should look like the following:
- Click Next.
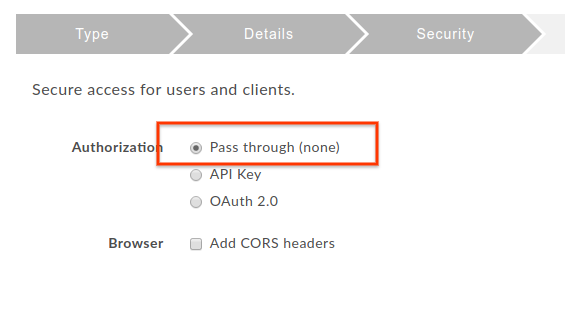
- On the Security screen, select Pass through (none) as the
security option, and click Next:
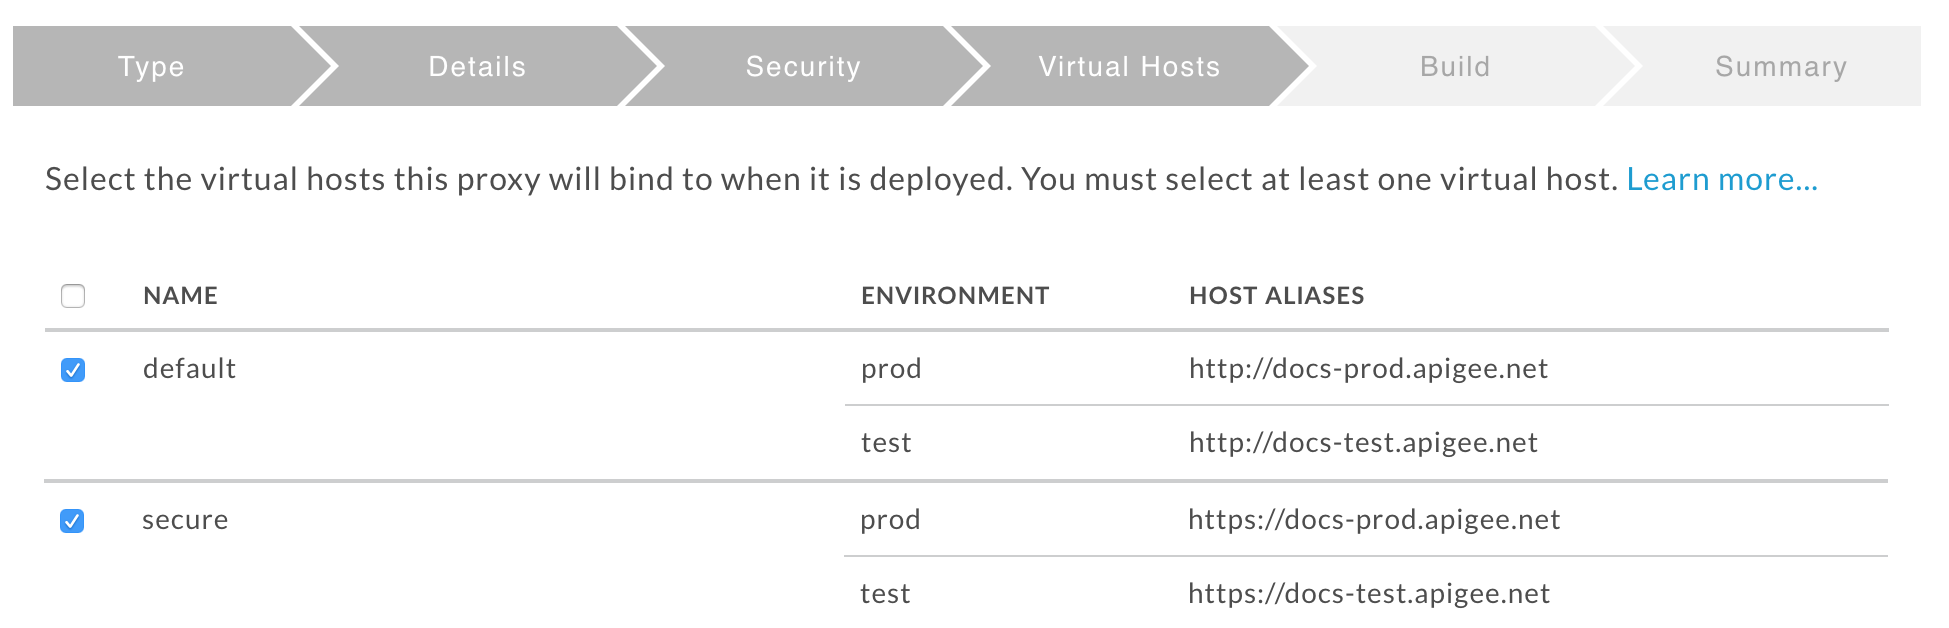
- On the Virtual Hosts screen, accept the default selections and click
Next.
- On the Build screen, make sure the test environment is
selected next to Deploy Environments and click Build and
Deploy:
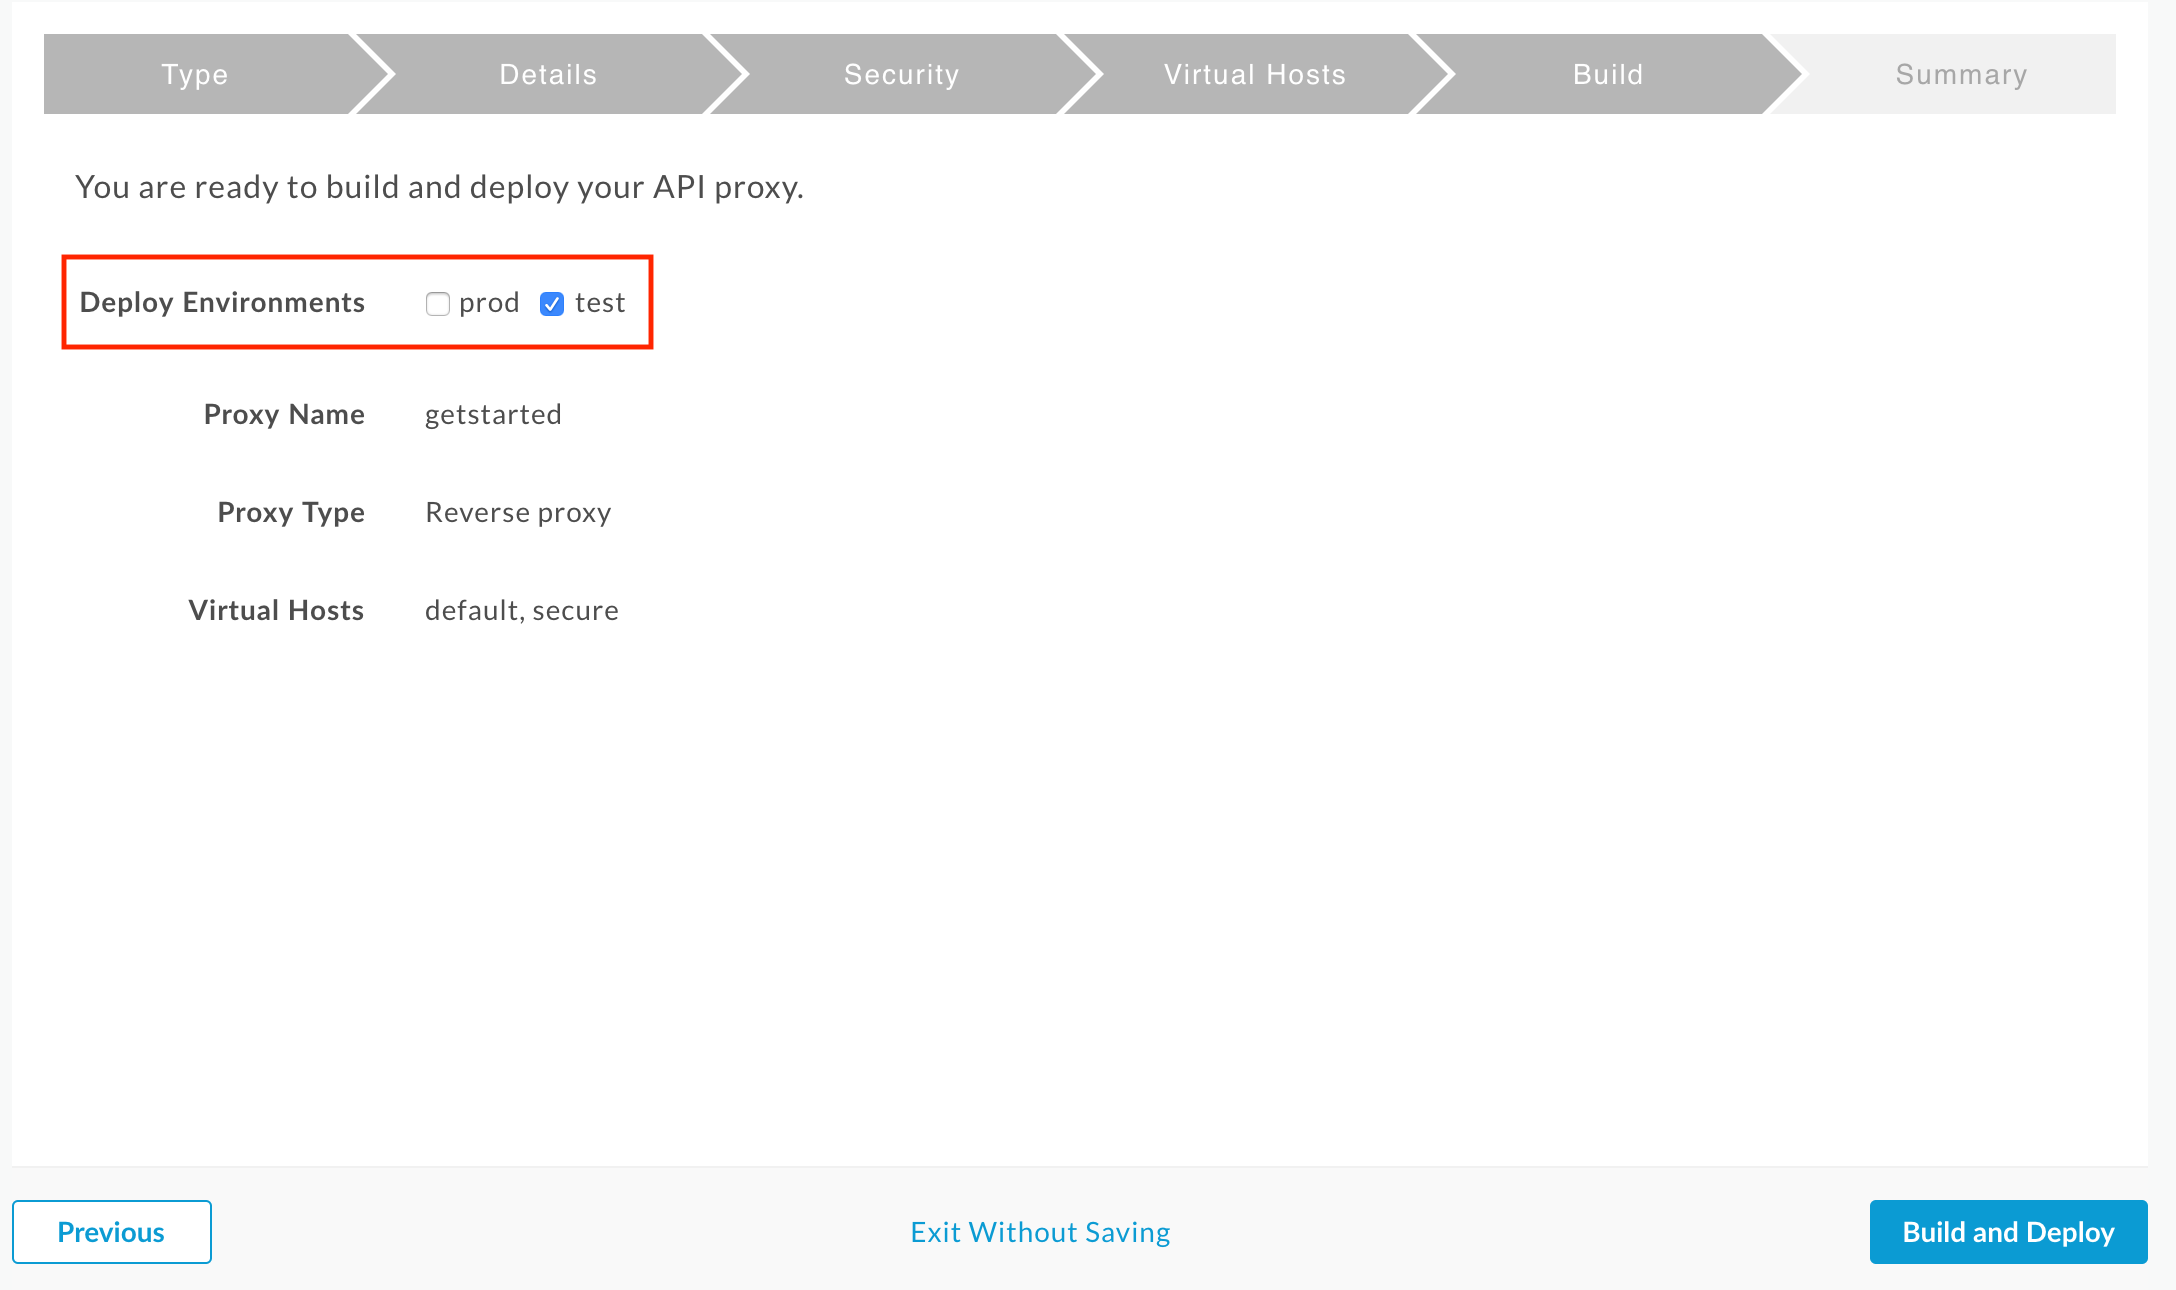
Apigee creates your new API proxy and deploys it to your test environment:
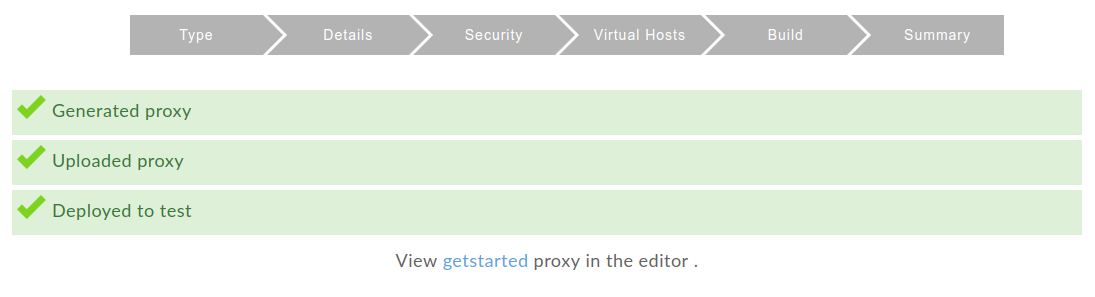
- Click View getstarted proxy in the editor to display the Overview page
for the API proxy:
Note that if you expand the [ + ], the UI lists both HTTP and HTTPS URLs for the test environment:
As a result, you can send requests to either, but this tutorial uses HTTPS.