
You're viewing Apigee Edge documentation.
Go to the
Apigee X documentation. info
Next, you'll update the top (header) and bottom (footer) navigation bars to include the Get Started page.
To set up navigation:
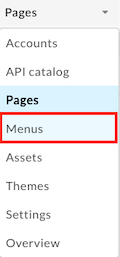
- Select Menus in the portal drop-down to open the Menus page.
First you'll update the top (header) navigation bar to add Get Started as a menu item. Notice that Header is selected by default in the menu drop-down. - Click + Menu Item.
-
In the navigation menu dialog, enter the following details:
Field Value Name Get Started Page Path or URL Click ... and select Get Started (get-started) in the list. (You may need to scroll.) 
- Click Create.
-
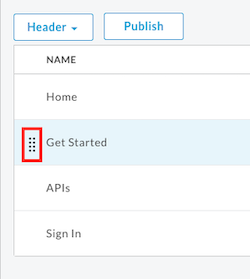
Rearrange the Get Started menu item:
- Position your cursor over the Get Started menu item to display the actions.
-
Click and hold the mouse button over the handle (
 ) that appears to the left of the
menu item name.
) that appears to the left of the
menu item name.
-
Drag the menu item to position it before APIs and release the mouse button.
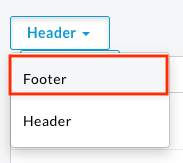
- Select Footer in the menu drop-down to update the bottom (footer) navigation bar.
- Repeat steps 2 through 5 to add Get Started as a menu item.
-
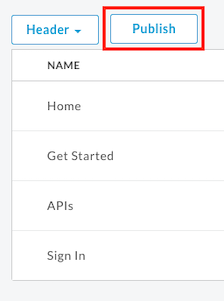
Click Publish to publish your changes to the live portal. Confirm the operation when prompted.
- Click Live Portal to open the live portal in a new browser tab (or refresh the tab in which it is already open).
- Click Get Started in the top navigation bar to display the Get Started page.
Next, you'll publish an API to the portal.