
You're viewing Apigee Edge documentation.
Go to the
Apigee X documentation. info
Out-of-the-box, the developer portal enables your app developers to register, sign in, and manage the apps that will consume your APIs.
The following sections describe how app developers interact with your portal:
How app developer registration and sign in are tracked in Edge
Developer registration and portal sign in are tracked using the _apiportal custom attribute in Edge.
When a developer self-registers, the _apiportal custom attribute is added to the developer configuration and the developer status is set to unverified to indicate that the developer has not signed in to the portal. For example: {"status":"unverified","portals":{}}
The first time the developer signs in to a portal, the _apiportal custom attribute is updated to track the portal name and time of access, and set the developer status to active. Each time the developer signs in to the portal, the custom attribute is updated to reset the lastVisit value (in epoch format) for that portal. For example: {"status":"active","portals":{"myorg-myportal":{"lastVisit":1480972935}}}
Register an app developer account
Before app developers can use your APIs, they must register by creating an account.
When an app developer registers with your portal:
- App developer information is created and stored on Edge. See Where developer account information is stored.
- App developer appears on the list of registered app developers. See Explore the Developers page.
Alternatively, you can register app developers on their behalf using the Edge UI, as described in Registering app developers.
New app developers can self-register with your portal as follows:
- Navigate to the portal.
- Click Sign in.
Click Sign up.
The following dialog displays.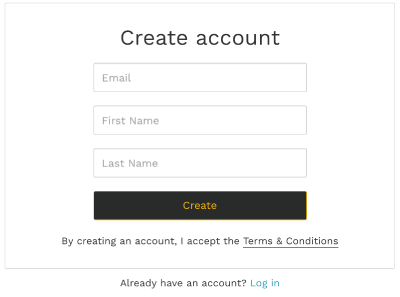
Enter the required information (first name, last name, and email address).
Click Create.
The following dialog displays.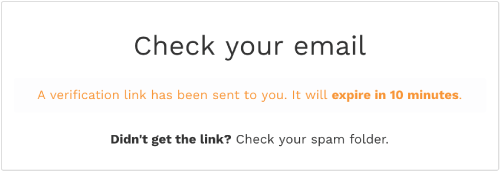
Click the secure link in the email to open the portal and establish the authenticated session.
Sign in to your portal
After app developers have registered with your portal, they sign in using the Sign In page.
Each time an app developer signs in to a portal, rather than using a shared secret like a password to authenticate the developer, a secure link is sent to verify identity and establish a session with the portal.
App developers can sign in to your portal, as follows:
- Navigate to the portal.
- Click Sign In.
- Enter the email address associated with the account.
Click Login.
The following dialog displays.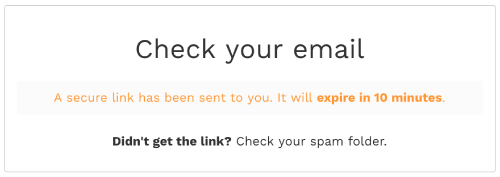
Click the secure link in the email to open the portal and establish the authenticated session.
Register apps
After signing into the portal, app developers can register apps to use the API products that you have published, as follows:
- Select My Apps from the user drop-down.
- Click + App to create a new app.
- Enter a name and description for the app in the Create App dialog.
- Click Create.
- Manage the API products in the app, as described below.
Manage the API products in an app
App developers can manage the API products in their apps. The API products are added to the app details page. For some API products, approval is not automatic. A status of Pending indicates an API product for which access has been requested but not yet granted.
App developers can manage the API products in an app from your portal, as follows:
- Select My Apps from the user drop-down.
- Click the name of the app.
- Click Manage Products.
Click the Access toggle to enable or disable access to an API product from the app.
Note: If the app developer disables access to an API product that is Private or Internal only, the API product is removed from the app and must be re-added manually by the portal administrator, as described in Register apps and manage API keys.
Click Request to request approval for an API product that is not yet allowed.
Click Save.
View the API key for an app
App developers can manage the API key for an app from your portal, as follows:
- Select My Apps from the user drop-down.
- Click the name of the app.
- View the API key in the Keys section.
- Click View Secret to display the API key secret.
- Confirm that the status of the API key is Approved.
Rotate the API key for an app
An app developer can rotate an app's API key periodically or in response to a potential leak or compromise. When an app developer rotates an API key, a new API key is created with the same API product entitlements as the original key. The original API key is marked deprecated, but it remains active while you transition it out of use. You must deactivate a deprecated key to prevent its credentials from being accepted, as described in Deactivating an API key for an app.
App developers can rotate the primary API key for an app from your portal, as follows:
- Select My Apps from the user drop-down.
- Click the name of the app.
- In the Keys section, position the cursor over the current API key to display the actions menu.
- Click
 to expand the actions menu.
 - Click Rotate.
- Click Create in the dialog box to confirm the operation.
- Optionally, deactivate the API key, as described below.
Deactivate an API key for an app
When an app developer rotates an API key, as described in the previous section, the API key is marked as deprecated, but it remains active while you transition it out of use. You must deactivate a deprecated key to prevent its credentials from being accepted.
App developers can deactivate an API key for an app from your portal, as follows:
- Select My Apps from the user drop-down.
- Click the name of the app.
- In the Keys section, click Keys history to display the list of deprecated keys.
- Position the cursor over the deprecated API key that you want to deactivate to display the actions menu.
- Click to expand the actions menu.
- Click Deactivate.
- Click Deactivate to confirm the operation.
The Status of the key is updated to Revoked.
Edit app details
App developers can edit the app details, as follows:
- Select My Apps from the user drop-down.
- Click the name of the app.
- Edit the Name or Description fields.
- Click Save.
The app is deleted and removed from the My Apps list.
Delete an app
App developers can delete an app from your portal, as follows:
- Select My Apps from the user drop-down.
- Click the name of the app.
- Click delete in the upper-right corner of the page.
The app is deleted and removed from the My Apps list.