
You're viewing Apigee Edge documentation.
Go to the
Apigee X documentation. info
Out-of-the-box, the developer portal enables your portal users to create a user account, sign in, and manage the apps that will consume your APIs.
The following sections describe how portal users interact with your portal.
Sign in to the portal
The following sections describe how portal users sign in to the integrated portal using their user credentials (built-in identity provider) or using SAML (beta).
If you enable both the built-in and SAML identity providers, then portal users will be able to choose their preferred method for signing in.
Sign in to the portal using user credentials (built-in identity provider)
When the built-in identity provider is enabled, portal users can sign in to the integrated portal using their user credentials (username and password), as described in the following sections:
Create a user account on the integrated portal
With the built-in identity provider, before portal users can use your APIs, they must create a user account on the integrated portal.
Portal users create a user account on the integrated portal as follows:
- Navigate to the portal.
Click Sign In.
The Sign in page displays.
Click Create account.
The Create your account page displays.
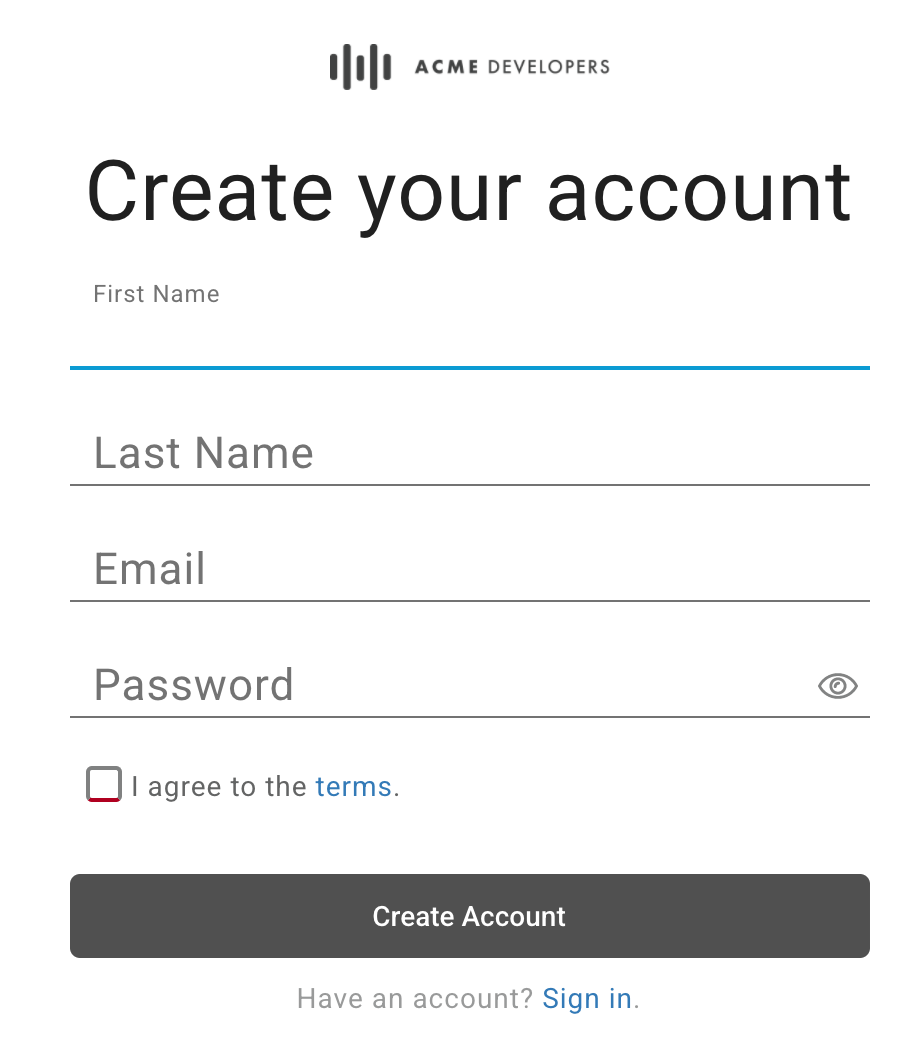
Complete the form.
You must enter values for all required fields. Passwords must be at least 8 characters and contain at least one of each of the following: number, lowercase letter, uppercase letter, and special character.
Review and agree to the terms.
Click Create Account.
Complete the CAPTCHA form and click Verify (if displayed).
The user account is created and a confirmation email is sent.
Within 10 minutes, click the link in the confirmation email to complete the registration process.
If you do not click the link within 10 minutes, you must repeat the steps in this procedure to create an account and be re-prompted.
Sign in to the integrated portal (described below).
Sign in to the integrated portal
With the built-in identity provider, after portal users have registered on the integrated portal and are approved, they sign in using their credentials (username and password).
Portal users sign in as follows:
- Navigate to the portal.
- Click Sign In.
The Sign in page displays:
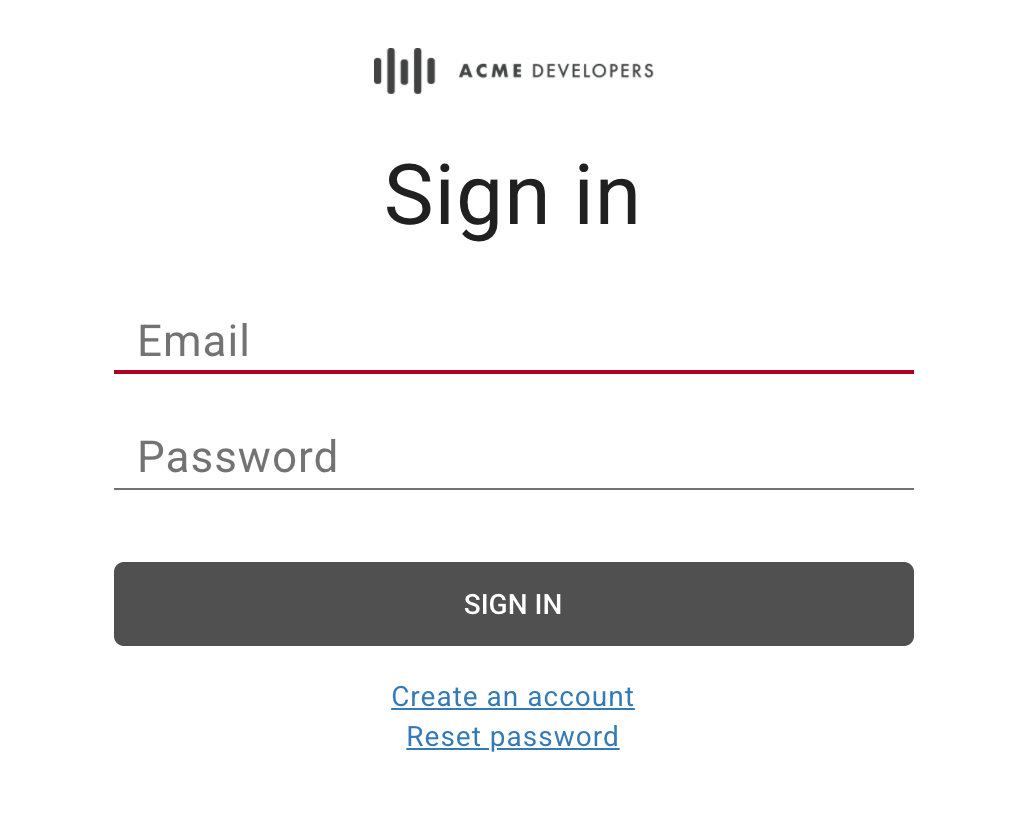
- Enter the email address and password.
- Click Sign In.
Change the password
With the built-in identity provider, portal users change the password as follows:
- Navigate to the portal.
- Click Sign In.
- Click Reset Password.
- Enter the email address for the account to be reset.
Click Send Reset Password Link.
A reset password link is sent to the email.
Click the link in the confirmation email.
Enter the new password and confirm it.
Passwords must be at least 8 characters and contain at least one of each of the following: number, lowercase letter, uppercase letter, and special character.
Click Create New Password.
Sign in to the portal using SAML authentication (beta)
When the SAML identity provider is enabled, portal users sign in to the integrated portal using SAML authentication, as follows:
- Navigate to the portal.
- Click Sign In.
Click login with SAML.
You are redirected to the SAML provider.
If prompted, enter your credentials for your SAML identity provider.
View API reference documentation
Portal users can view the API reference documentation that you have published to your portal, as follows:
- Navigate to the portal.
Click APIs in the top navigation bar. The APIs page is displayed. For example:
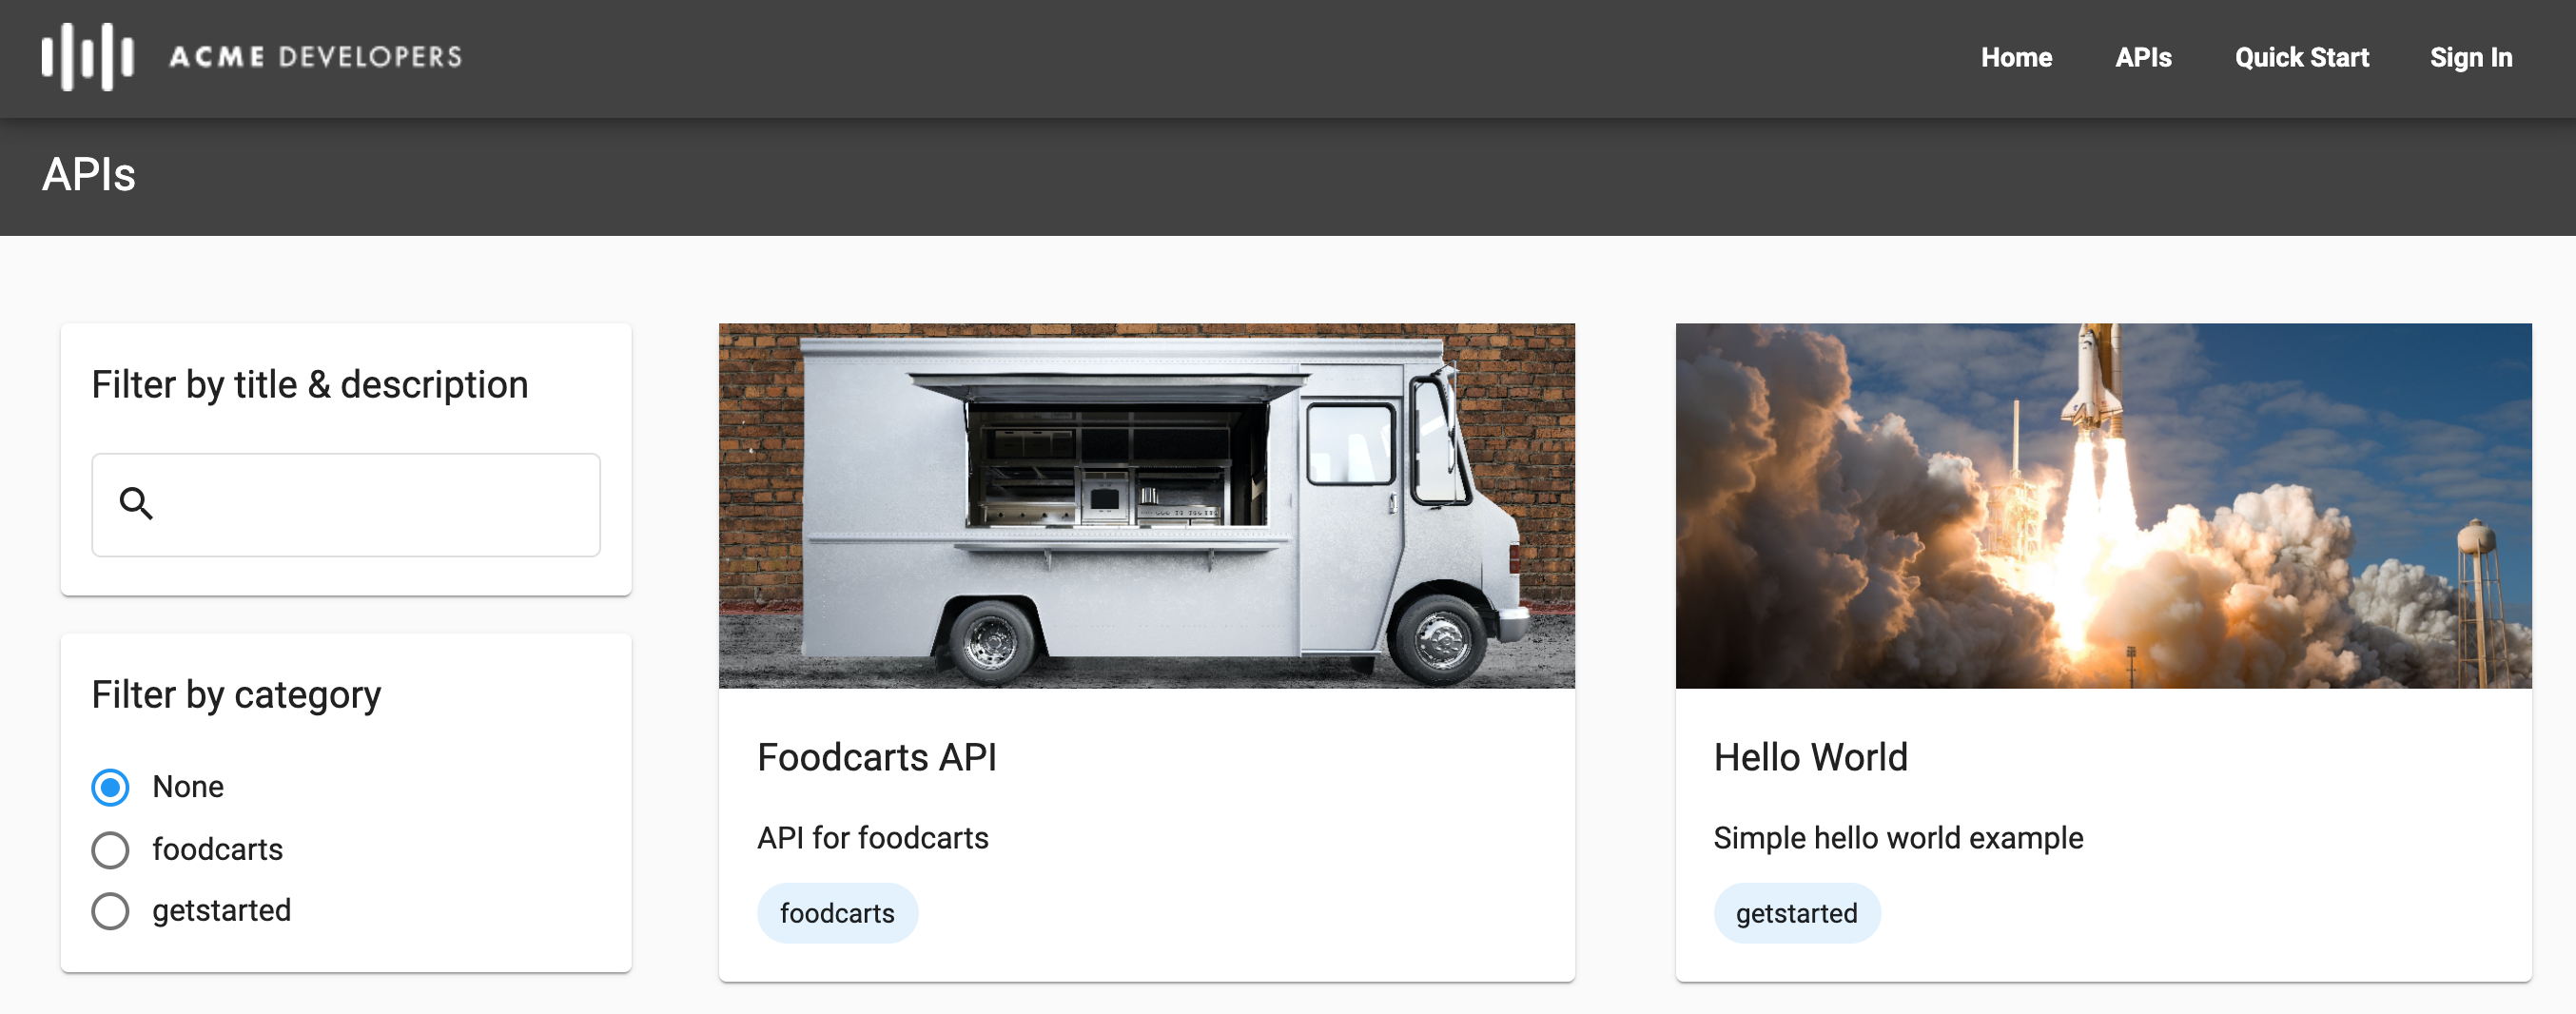
Filter the list of APIs by category, title, or description, if deired, using the tools in the left pane.
Click an API card to view the API reference documentation. The API reference documentation is displayed.
Portal users can learn about and try the APIs, or download the document used to render the API reference documentation. See Publish your APIs for more information about how the API reference documentation is rendered.
Share responsibility for an app using developer teams (beta)
Developer teams allow portal users to share responsibility for an app with other portal users. The following sections describe how to create and manage developer teams.
About the developer team roles
The following table summarizes the roles that can be assigned to developer team members:
| Role | Description |
|---|---|
| App Admin |
|
| Owner | Full read and write privileges for developer team members, developer team details, and apps. |
| Viewer | Read-only privileges for developer team members, developer team details, and apps. |
View the Teams page
The Teams page displays the developer teams for which you are a member.
To access the Teams page:
- Sign in to the portal.
- Select Teams from the user account drop-down in the portal.
The Teams page is displayed enabling you to:
- View the developer teams for which you are a member, including the name, role, list of members, and date the team was created
- Add a developer team
- Edit developer team membership and roles, remove yourself from a developer team, or delete a team by clicking the developer team row
Add developer teams
To add a developer team:
- Sign in to the portal.
- Select Teams from the user account drop-down in the portal.
- Click + New Team.
- Enter a name and description.
To add a member to the developer team, click + Add another member, enter the portal user's email address, and select a developer team role.
Repeat to add additional members.
To delete a member from the developer team, click
 adjacent to the developer team member you wish to delete.
Click Create.
Edit developer team membership and roles
To edit developer team membership and roles:
- Sign in to the portal.
- Select Teams from the user account drop-down in the portal.
- Click in the row of the developer team that you want to edit and for which you are an owner.
Perform one or more of the following steps:
- Edit the name, description, and primary contact.
- Add or remove developer team members.
- Update developer team member roles.
Click Save.
Remove yourself from a developer team
To remove yourself from a developer team:
- Sign in to the portal.
- Select Teams from the user account drop-down in the portal.
- Click in the row of the developer team from which you want to remove yourself.
- Click Leave Team.
Delete a developer team
To delete a developer team:
- Sign in to the portal.
- Select Teams from the user account drop-down in the portal.
- Click in the row of the developer team that you want to delete.
- Click
 .
. - Click Confirm to confirm the deletion.
Register apps
Register developer apps and developer team apps, as described in the following sections.
Register developer apps
Portal users can register apps to use the APIs that you have published, as follows:
- Select Apps from the user account drop-down.
- Click + New App to create a new app.
- Enter a name and description for the app in the New App dialog.
Select the owner of the App in the Owner drop-down list.
By default, you are the owner of the app. If desired, select a developer team from the drop-down menu to share responsibility for the app with other developer team members. See Share responsibility for an app using developer teams (beta).
In the API Catalog section, select one or more APIs.
APIs in the catalog are categorized as Authenticated APIs, requiring a callback URL, or Public APIs. You must select at least one API in order to create an app.
If you select an API in the Authenticated APIs section, enter a callback URL.
For more information, see About callback URLs.
Click Create.
Register developer team apps
Developer team members can register apps for a developer team to use the APIs that you have published, as described below.
To learn more about how:
- Portal users add and manage teams, as described in Share responsibility for an app using developer teams (beta).
- API providers view and manage developer teams, as described in Manage developer teams.
To register developer team apps:
- Select Teams from the user account drop-down.
- Click the row of the developer team for which you want to register an app.
- Click + New App to create a new app.
- Enter a name and description for the app in the New App dialog.
Select the owner of the App in the Owner drop-down list.
By default, the developer team is the owner of the app. If desired, select a different developer team or yourself as owner from the drop-down menu.
In the API Catalog section, select one or more APIs.
APIs in the catalog are categorized as Authenticated APIs, requiring a callback URL, or Public APIs. You must select at least one API in order to create an app.
If you select an API in the Authenticated APIs section, enter a callback URL.
For more information, see About callback URLs.
Click Create.
Manage the APIs in an app
As an API producer, you publish APIs to enable portal users to consume your API products.
Portal users manage which APIs their apps use. The APIs are added to the app details page. For some APIs, approval is not automatic. A status of Pending Approval indicates an API for which access has been requested but not yet granted.
Portal users can manage the APIs in an app from your portal, as follows:
- Select Apps from the user account drop-down.
- Click the app in the list.
- In the APIs section, click
 or
or  to enable or disable access, respectively, to an API from the app.
 - For an Authenticated API, add or edit the callback URL, as required.
View the API key and secret for an app
Portal users can manage the API key for an app from your portal, as follows:
- Select Apps from the user account drop-down.
- Click the app in the list.
- View the API keys in the API Keys section.
- Confirm that the status of the API key is Active. If your API key requires approval and has not yet been approved, the status will show as Pending Approval.
- Click Show secret to view the secret.
- Position your cursor over the API key or secret and click
 to copy it to the clipboard.
Rotate the API key for an app
A portal user can rotate an app's API key periodically or in response to a potential leak or compromise. When a portal user rotates an API key, a new API key is created with the same API entitlements as the original key. The original API key remains active while you transition it out of use. You must revoke the old API key to prevent its credentials from being accepted, as described in Revoke an API key for an app.
Portal users can rotate an API key for an app from your portal, as follows:
- Select Apps from the user account drop-down.
- Click the app in the list.
- In the API Keys section, click Add Key.
- Click Confirm in the dialog box to confirm the operation.
- Optionally, revoke the old API key, as described below.
Revoke an API key for an app
When a portal user rotates an API key, as described in the previous section, the API key remains active while you transition it out of use. You must revoke an API key to prevent its credentials from being accepted.
Portal users can revoke an API key for an app from your portal, as follows:
- Select Apps from the user account drop-down.
- Click the name of the app.
- In the API Keys section, click in the Actions column associated with the API key that you want to revoke.
Click Confirm to confirm the operation.
The Status of the key is updated to Revoked.
Edit app details
Portal users can edit the app details, as follows:
- Select Apps from the user account drop-down.
- Click the app in the list.
- Edit the Name or Description fields on the App Details tab.
- Manage the APIs in an app, as required.
- Click Save.
Delete an app
Portal users can delete an app from your portal, as follows:
- Select Apps from the user account drop-down.
- Click the app in the list.
- Click DELETE.
- Click Confirm to confirm the operation.
The app is deleted and removed from the Apps list.